Showing posts with label Stash Kits. Show all posts

Sunday, January 7, 2018

Scrapbooking in January - Week 1 Challenges

I discussed some of the goals I had already for this year and so far I am on track. I worked on a mini album and made 5 layouts this week, including 1 Disney layout. 

The first challenge was to work on my mini album, which I did, but didn't grab a picture of it just yet! 

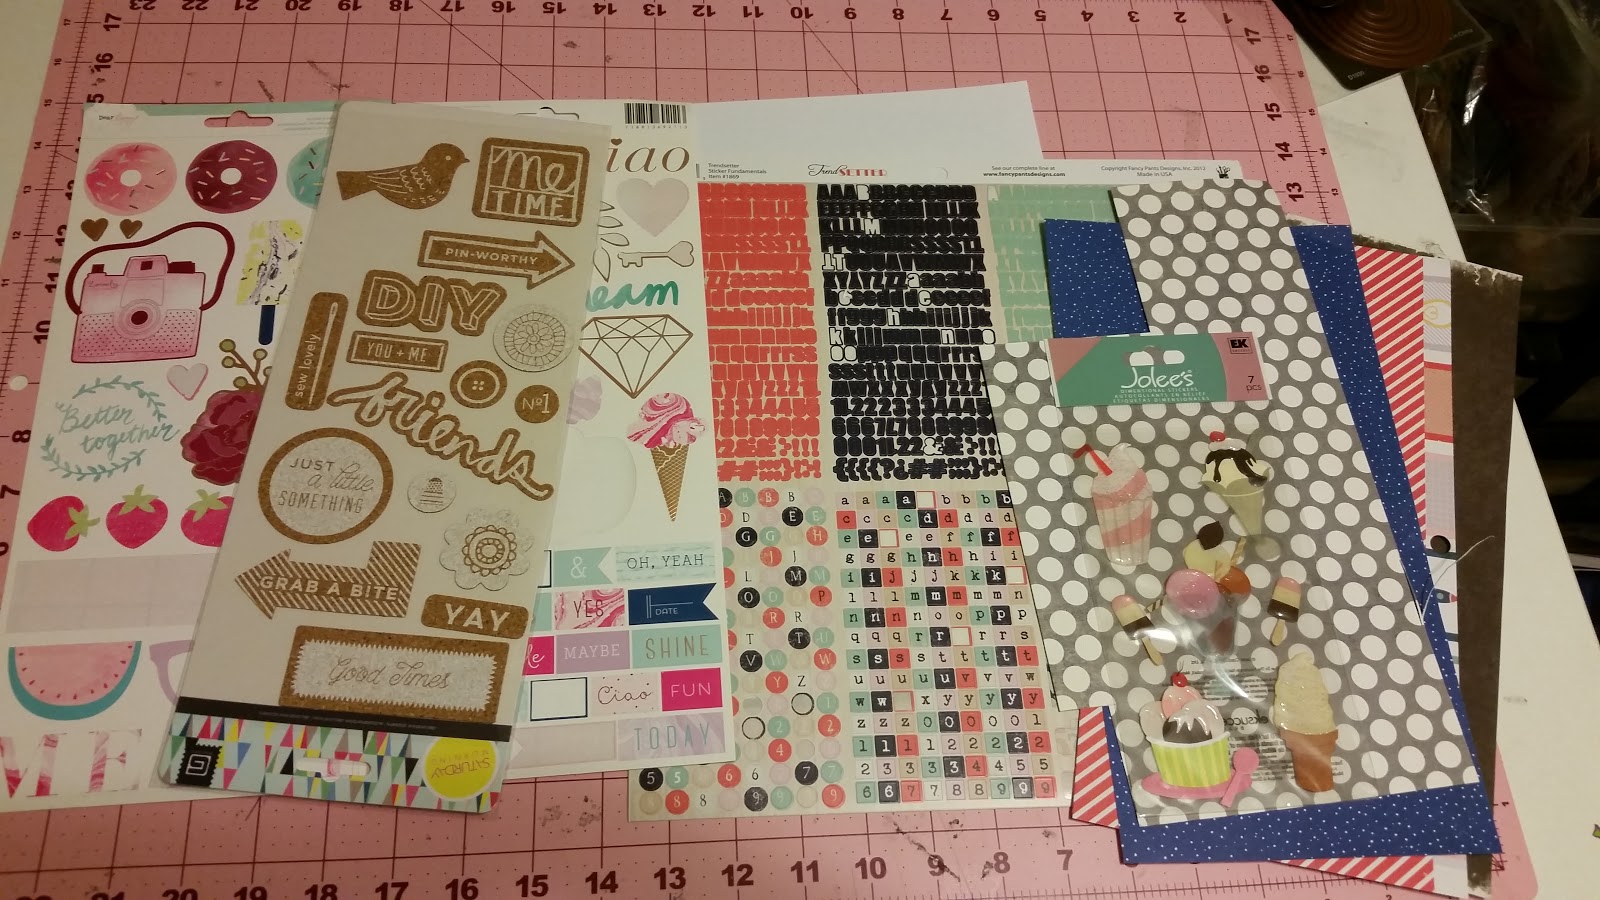
The next challenge was to use one of the stash kits I had sitting in a bin. I made this kit a while back and it was perfect for a single page. I am a huge fan of doilies lately. And I was so happy to cut into that transparency paper. Sometimes I hold onto those for way too long!


The next challenge was a Jar Challenge. I had to use a color wheel. I went online and chose the following colors using the Triad option.


I went to work, first taking papers from my 100 papers bin. Then I took out one embellishment sheet that had all the colors I was looking for and found this picture of my son wearing pretty much the same colors for his school picture this year. It all worked out pretty quickly. 


Next I had to "Kill" a Kit on Friday. I made two layouts, but one has a class picture with school sign so I decided not to post that one. The other layout is below. I have been holding onto this book paper for a while now knowing that I wanted to use some pictures I've taken this year while reading. I am so happy I decided to focus on reading again so I wanted to make a layout about it. 


Finally, I used the Hip Kits Club Sketch  from this week to create the layout below for my Sketch Saturday. I am thrilled with how my Disney Album is turning out. I did take Shimelle's Disney class over the summer and hope to finish going through all the videos and sketches to make even more layouts for this project. 


 That is all for now! Happy Scrapping! 


Thursday, June 1, 2017

Scrapbooking in June: Counterfeit Kit Reveal

Counterfeit Kit revealed the June inspiration kit today on their blog.The Inspiration comes from a Felicity Jane kit. 


Here is my take with my June Kit, Stay.   


I ended up using 17 papers all from the 100 patterned papers I pulled earlier this year! So exciting! 

Wednesday, April 12, 2017

Scrapbooking in April: Page Kits

I finished up with the last couple of page kits I made last week and even pulled another patterned paper from the 100 paper stash to make one of the kits stretch over two pages. I like using die cuts but I feel a little lost as to what to do with them still. I'm glad I got to try out some things. 


Friday, April 7, 2017

Scrapbooking in April: Challenge Jar Kits

I had a little bit of time this week to pull a challenge out of the Challenge Jar.

Make 5 page kits using lots of die cut pieces

The last challenge I did from the jar was also page kits and I was able to make a page with each one already. I plan to do the same with these kits. I managed to make all the kits with my 100 patterned papers - this used up 14! 

Here are the page kits!

The first one was inspired by the pinata paper I pulled out and the pinata die cuts I had in my random stash. I decided I wanted to also make sure I used a 12x12 sticker sheet and letter tiles for each of these pages. 


I had lots of clouds and an umbrella and raindrops so This one is a bit rainy and gray. 


I pulled out the kraft hot air balloon because the challenge on the 100 patterned paper facebook page is to use up Kraft paper items this month. 


At this point I just reached into the random die cut bag and pulled out that pink jar and went off of that as inspiration for the full page kit. 


I liked the orange/red and yellow present and went with that as my color scheme for this kit. I'm so excited that I had several papers that would work in the stash I was pulling from!


Check back to see the pages I make with these page kits. 

Wednesday, March 22, 2017

Scrapbooking in March: Using Page Kits

I've been scrapping away and haven't posted anything this week yet! Last time, I posted the 5 page kits I made in response to a jar challenge. Today I will show off what I made with them:

Page Kit 1, with all those pinks:


Page Kit 2 looked like Spring:


Page Kit 3 had a lot of bling and a party girl vibe:


Page Kit 4 had me thinking of a picture of all the kids outside my parents' house:


Page Kit 5 had red, white, and blue colors and yummy ice cream:


I don't typically work with white backgrounds so much but it was a great way to make these stash kits from my scraps and use them easily. 

Tuesday, March 14, 2017

Scrapbooking in March: Challenge 30

This challenge took me a while to do! 

Make 5 page kits using scraps

I ended up completely organizing all my scraps. I don't typically keep them organized but I had the urge to just do it. 

To start making my kits, I pulled out 5 sheets of white cardstock so I would have a background.

The first kit I made was monochromatic. As I was sorting my scraps I saw a bunch of pink paper together that looked really cute so I went with it and pulled out some stickers and letter stickers to match.


Page kit #2 started with those border stickers. I have a big bin of stickers I'm trying to remember to use sitting on the floor next to my desk. I decided to just pull randomly out of the box and pull scraps to match. This one came out really spring-y!


I asked my son to do the sticker picking this time and he picked this really sparkly and girly sticker - Girl Talk. I was laughing because I had no idea what I would do with it. Luckily I found some really shiny hot pink and black papers and hot pink glitter paper in my scraps. I thought some silver thickers and stickers would look great with it.


Next I pulled these MME stickers that had some orange and teal and grey. I found some scraps and stickers and die cuts to go with it. I actually have a picture in mind for this kit, too! 


Last, Kit #5 started with some Jolee's Ice Cream stickers. I have a few pictures in mind that would work so I pulled some red, grey, white, and blue scraps and letter stickers along with some themed treat stickers. 


I am excited to use these page kits up over the next few days and link them back to this post. 

Tuesday, February 7, 2017

Scrapbooking in February: Making a Mini Kit

This month, the Counterfeit Kits blog team announced they were also making mini kits to go along with the main kit (or instead of, they were very easy going about what you could do with the kit!). I made a page kit and it seriously came together in less than 5 minutes.


I already knew what colors I needed so I went for my scraps. I had a paper pad nearby that had a couple of papers I thought could work and then I had some pearls and a sheet of stickers out that went well enough, too. Not too much thinking involved!


Tuesday, August 2, 2016

Isn't She Lovely: August Counterfeit Kit

I skipped a lot of challenges in July and am back here now with the August Counterfeit Kit Challenge. 

The kit they were taking inspiration from this month is from a German-based company called Papier Werkstatt. 

It has a lot of neutrals, a black, and a bit of pink and aqua. I swear I saw a bit! I really only went with the colors and overall feel of this kit before making mine. I call it "Isn't She Lovely" and I already have a few ideas of what pictures I plan to scrapbook this month. I hope to share soon!

I may have gone a bit overboard with the embellishments but I had so many things I wanted to include. Options! I figured with all the paper I pulled I would have a ton of layouts to work with... 


I often forget I have 12x12 embellishment sheets like these but I moved them to a better spot and found 3 I wanted to include right away. 


I have to get some use out of my 6x6 paper pads so I made sure to include a lot of these as well.


Yes! More stickers and embellishments.


 Oh, right. The paper. I love the aqua and pinks and neutrals. Very excited to use this. 


Keeping it all together until I can clear a space on my desk for everything. 


Thanks for stopping by!

Sunday, June 5, 2016

Counterfeit Kit Reveal: Hello, I Love You


This month for the Counterfeit Kit  we were to use the Hip Kit Club's May 2016 kit as inspiration for our own kit. It just so happens I belong to the Hip Kit Club and had not gotten the opportunity to use my May kit yet! (still working on April's!) I decided then to still do the counterfeiting and just make myself one giant coordinating kit between the two to work on a whole album of pages. Yay! 

Starting with the papers, here is the Hip Kit's version:


Here are my counterfeits of those sides, trying to match colors: 


And here is the other side of the Hip Kit's papers:


And here are the papers from the kit I put together to match:


Next I moved on to the ephemera. Here is the set that we received with the Hip Kit:


And here are the pieces I put together from my stash:


 The Hip Kit letter stickers are on the right. The ones for my kit are on the left. 


Wood veneer from the kit on the right. Wood veneer from my stash on the left.


Enamel dots from the kit on the left. Enamel dots from my stash on the right.


Chipboard from the kit on the left. Chipboard from my stash on the right.


And I didn't order the embellishment kit so I had fun putting together my own inspired by theirs:


I am naming my kit "Hello, I Love You" and I am excited to get working with it along side the May 2016 Hip Kit. I am going to say it was a lot harder to do this when I already owned the kit because I started to get very particular about which papers and embellishments to use that would match. I'm still excited with how it turned out, though! 

Friday, April 1, 2016

April Counterfeit Kit Challenge: Wildest Dreams

This is my very first month playing the Counterfeit Kit Challenge. I picked a crazy month to start this, but hope my busy personal life won't take away from playing with this kit. 


Right away I notice it isn't quite my style. I have floral and flowers but I rarely use them on my mostly-boy-focused layouts. But there is no way I am backing down from this challenge! That's why I'm here. 

So I wrote down the colors right away: black, goldish, pink, and green. Then I looked at the items: doily, lace, frame, arrow, flowers, metal, butterflies, text. Then I stopped looking at the picture and moved on to my stash.

My overwhelming stash. What was I thinking? Oh boy... I recommend looking for that bold and colorful floral first to start you off. Once I found that, I was on a roll! 

I am calling it Wildest Dreams because that song is currently stuck in my head and I imagine Taylor Swift is standing in a floral dress staring at the sunset somewhere with these exact colors of red lips and rosy cheeks. Yep.


A mix of manufacturers here, with some scraps from my wedding crafting. Always have to include those scraps!


Embellishments include metal pieces, vintage looking pieces, buttons, bling, tags.


Also flowers of all types, butterflies, washi tape, label stickers, doilies, gold and aqua letters.


Lots and lots of embellishment. I hope to use it all. 

Finally I added some mixed media items because they had an Add On kit with those. 


I'm just adding a stamp that I don't know if I've ever used with a few options for colors. The star stencil is the leftovers from actual star stickers. I wanted to use the cutout as a stencil with that dark pink mist. 


And that's all for my very first Counterfeit Kit! I can't wait to see what happens with it.